


At a kitchen table in White Bear Township 22 years ago, Roseann Kermes created her business. A bustling creative haven for crafters, quilters and creators, Rosebud’s Cottage was a favorite place for many to hone their creative skills, until this past fall when Kermes decided to forgo retail hours to devote more time to her love of creative endeavors.
“One of my sisters nicknamed me Rosebud when I was a child,” Kermes says. “She died when I was a teenager and this was a way to remember her.”
Roseann Kermes refers to herself not as a crafter, but as a creator in a variety of mediums, and she teaches her master skills to students all over the world. “I create wall hangings, table mats, pillows, pincushions, and many other objects using hand-dyed wool, threads and combinations of stitches,” Kermes says.
Her designs are published in American Patchwork and Quilting. Better Homes and Gardens noticed her extraordinary talent and she has been contributing creative ideas to them for over 20 years.
Her talents are a gift, but her patient instruction is what attracts clients to her. “I am happiest when people ask me to show them how to do something,” Kermes says. “Teaching comes naturally for me. I love it when someone ‘gets it’ or when they return, after I have shown them a few tricks, with a successful project.”
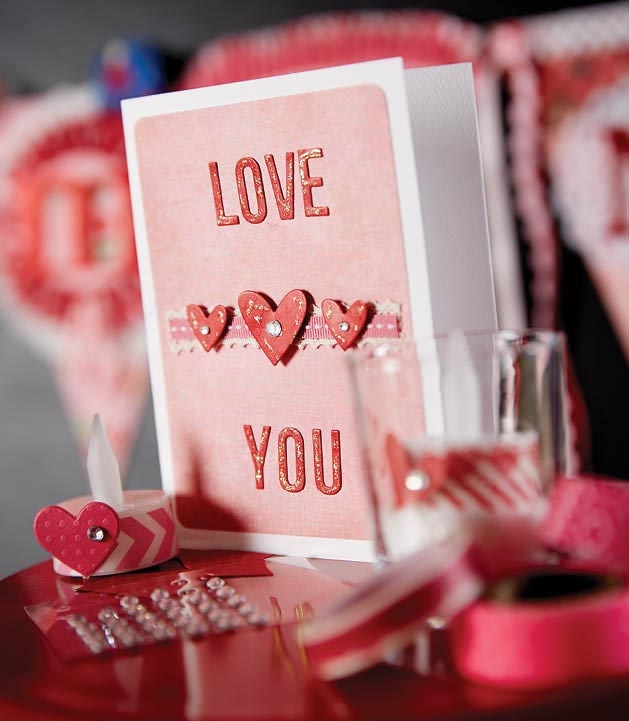
Valentine’s Day is one of her favorite holidays. “I love the sweetness and colors of Valentine’s Day,” she says. “Everyone seems kinder to each other this time of year.”
With that in mind, we asked Kermes to offer a few Valentine projects for families to try at home. So grab your creativity and a few supplies and get to work.
Washi Tape Votive Candle
Supplies: Battery-operated votive light, glass jar or candle cup, Washi tape, pink or red scrapbook paper, paper punch or die cut, dimensional adhesive pop dots and sticky-back gemstone.
- Cut a length of Washi tape and wrap it around the base of the votive candle. Overlap the ends slightly.
- From scrapbook paper, cut a heart using a large paper punch or die cut; or you can draw your own.
- Place a dimensional dot behind the heart and stick it to the votive candle where the ends overlap.
- Add a gemstone to one lobe of the heart.
- Nestle the votive in a base of salt, sand or shredded paper in the bottom of the candle cup and enjoy the glow!
Valentine Banner
Supplies: Cardstock and fabric or scrapbook paper for the banner, ribbons, lace, rickrack and buttons for embellishments, glue stick and sewing machine (optional).
For all of the triangle banner pieces to be the same size, follow these directions:
- Take a piece of paper and draw a line that is 6” long. Find the center of the line (3’’) then measure down 8½’’ from there and make a dot.
- Draw a line from the dot to each corner of the 6’’ line to form the sides of the triangle.
- Make holes in the corners so you can attach ribbons or strings to tie the triangles to each other.
Make as many triangles as you need to spell your Valentine message:
- Use fabric or scrapbook paper for the front of the banner and for the letters. Use scrapbook paper for the back so that it’s pretty on both sides.
- Glue or stitch the front to the back of the triangles.
- Cut the letters from contrasting fabric or paper to the front of the triangles in the order your message will be read. Glue or sew them in place.
- Embellish each triangle with lace, buttons, ribbon or other objects of your choice.
- Tie each triangle to the next with long lengths of ribbon and hang over a door or window.


